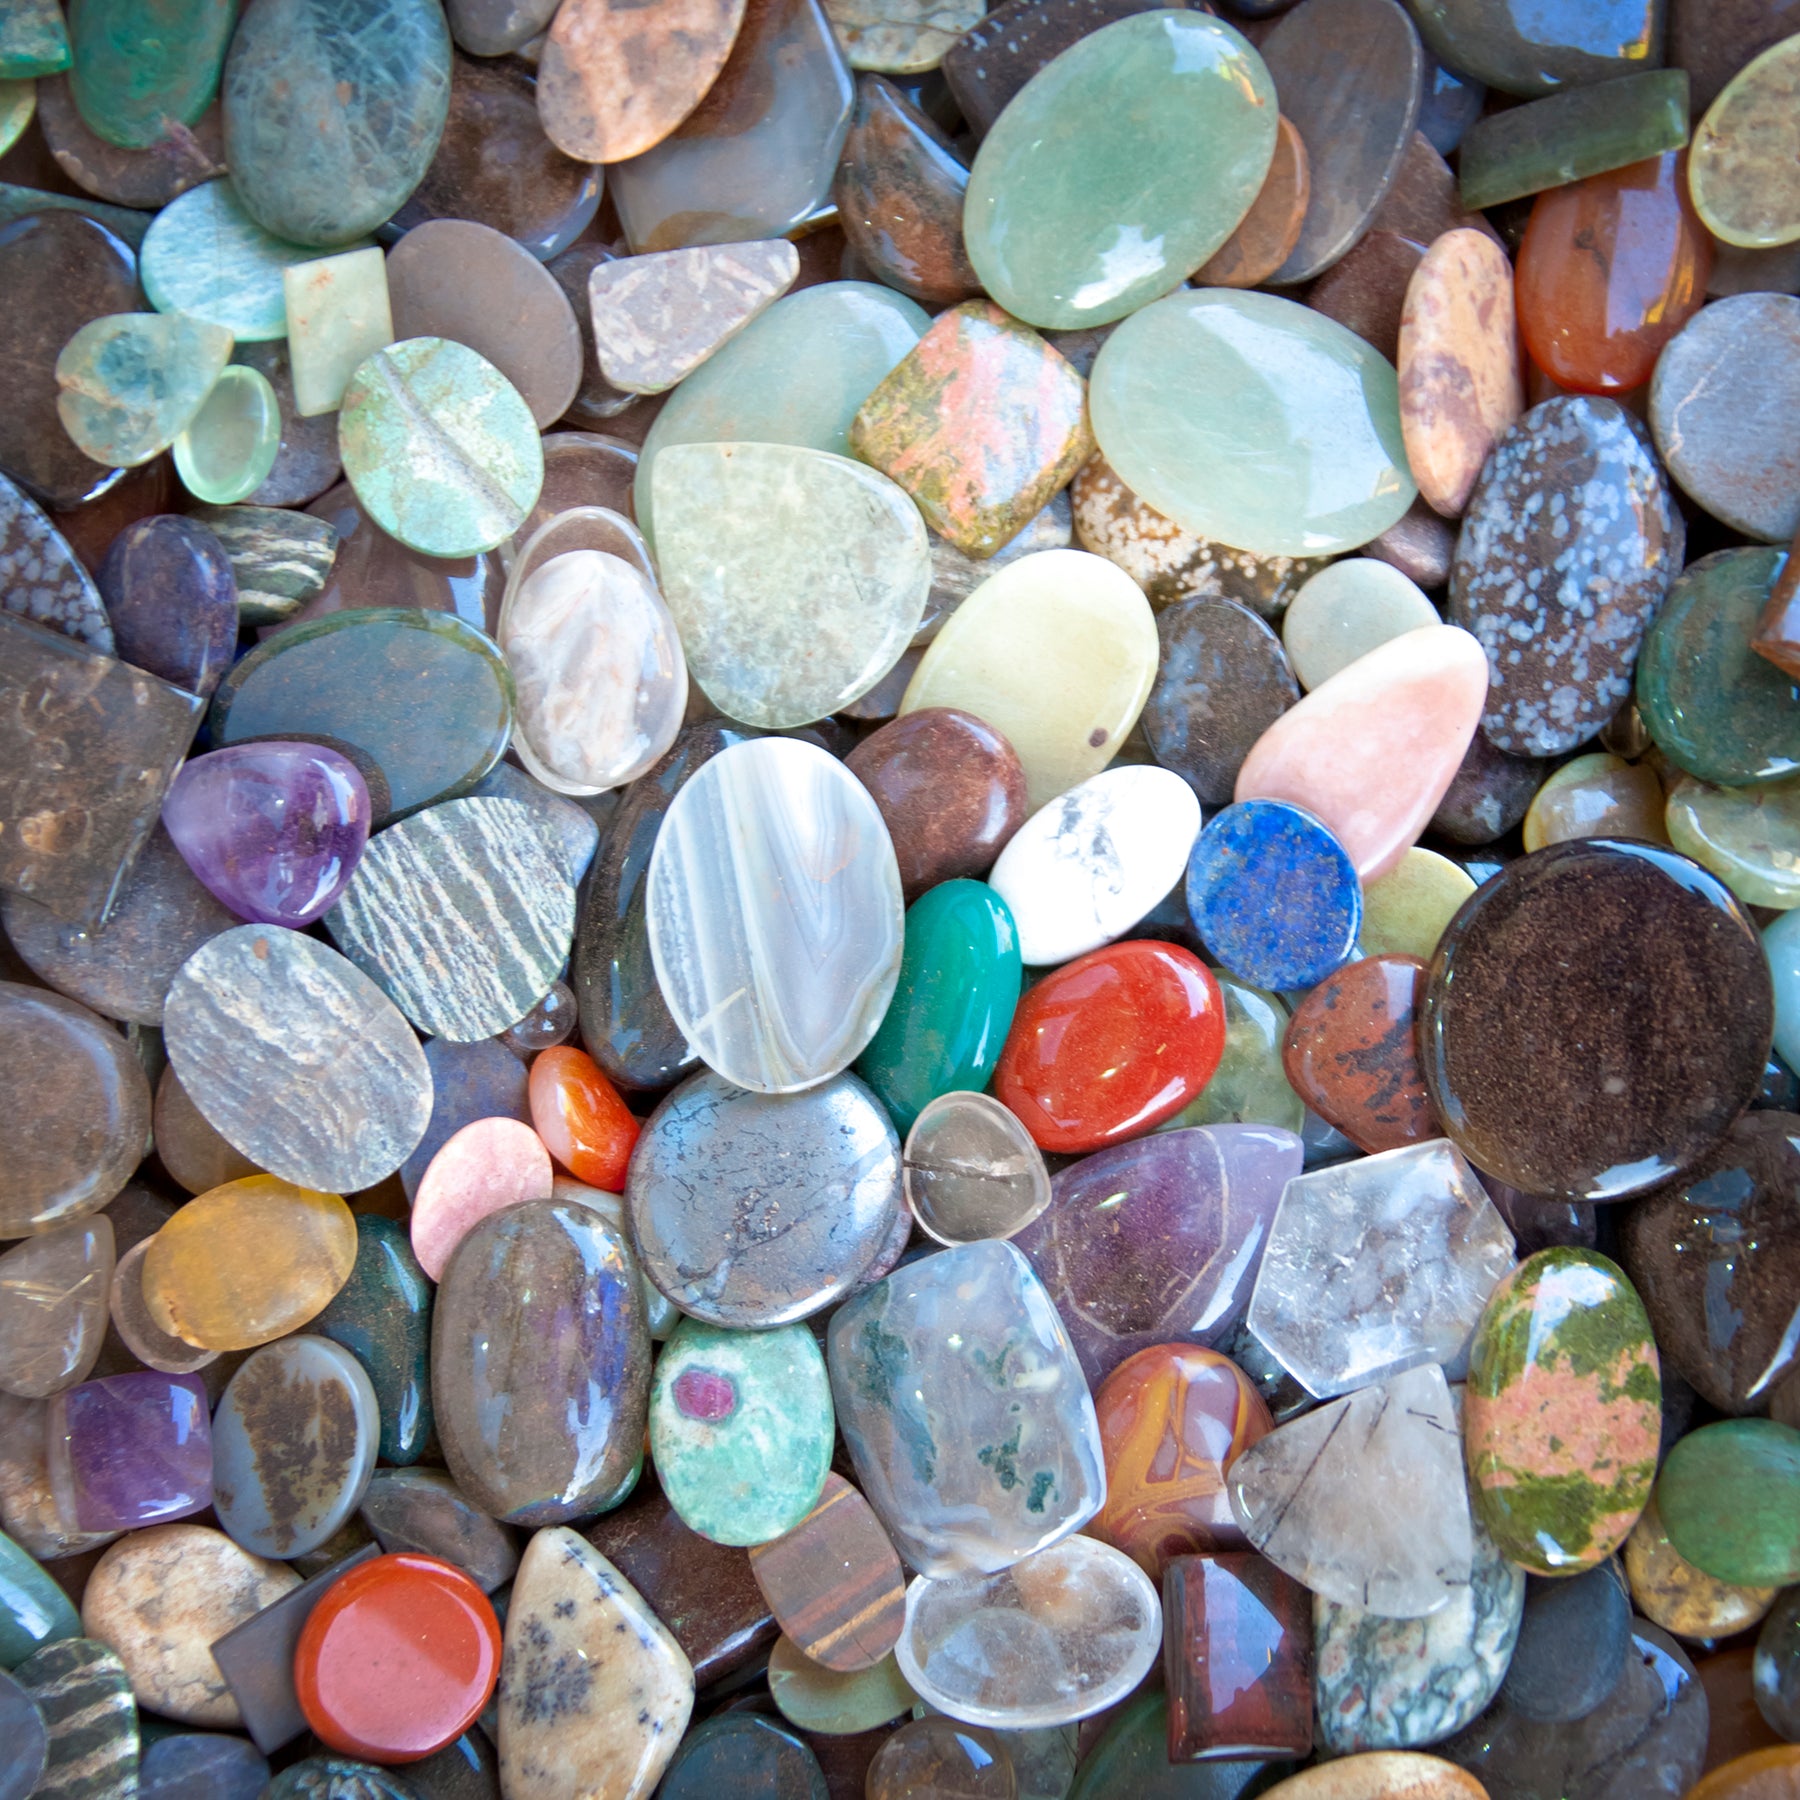
Tumbling Stones is an Art
Tumbling/polishing stones is an art. Everyone has their own desired results and develops their own artistic processes along the way. Here we offer some starting points and some basics.
Stone selection: Utilize moh’s scale and tumble stones together that have similar ratings. Harder stones will knock against softer stones and can cause damage during tumbling. Use a variety of sizes and balance the load to improve tumbling action.
Loading the barrel: Regardless of the barrel size, fill the barrel ⅔-¾ full with stones. If you don’t have enough stones to reach that mark, add plastic pellets or another filler of your choice. Add water just to the top of the stones, not covering the top of the stones. Add the first stage of grit that you are using. We recommend 1 ounce of grit per pound of stones you are tumbling for the coarse and medium/fine stages and ½ ounce of grit per pound for the pre-polish and polish stages. Place the cap on the barrel and tighten the clamp to ensure an air and water tight seal. Place the barrel on the tumbler and plug it into a grounded outlet.
Location of the tumbler: You’re going to want to check progress periodically so place the tumbler in an easily accessible location. The tumbler is about as loud as an older dishwasher so be mindful of that when deciding on a location. The tumbler will likely move some while tumbling. Placing it on the floor may be a good option. If it’s on a table or counter, have a tray under it to prevent it from scratching the surface and wandering off the edge.
Tips:
Each stage runs for at least a week. Especially during the first stage, open the barrel after 12-24 hours to release any gas buildup. Throughout all the stages check the progress periodically to make sure a slurry is forming and ensure stones are tumbling as expected.
While tumbling, the tumbler should have a uniform sound. It should not sound like tennis shoes in a dryer. If the sound is not uniform, check the level of the load, formation of slurry or mixture of rock sizes. Adjust as necessary.
Let the rough grind run until all of the sharp edges have been knocked off the stones and they are pretty smooth. You can expect to lose about 30% of each stones during the tumbling process with almost all of the loss during this first step. If stones are not smoothed after 10 days, you will need to repeat the first step with fresh grit.
After a step is completed, rinse the stones and the barrel thoroughly to remove all traces of the grit. We use an old toothbrush to get into the hard to reach areas. Set aside any stones that are broken or have pits or cracks. You can add these to the first step of the next batch of stones but they will diminish the quality of all your stones if you leave them in for the next step.
For each subsequent stage the barrel has to be ⅔-¾ full. Add plastic pellets or a filler of your choice to replace the volume lost.
The key to success is in making certain there is no contamination of steps from grit from the previous stages. Do not tumble rocks with pits or cracks. Grit will penetrate these weak areas and contaminate subsequent steps, ruining the polish of the entire load. It’s impossible to remove all of the grit inside a crack or pit.
Avoid the temptation to move on to the next stage too quickly. Make sure stones are smooth.
Do not wash grit down the drain! It will create a clog that is impervious to drain cleaner. Rinse stones in a bucket or outside.
Don’t reuse grit. Silicon carbide loses its sharp edges after about a week’s tumbling time and becomes useless for grinding.
You can reuse plastic pellets, but take care to avoid contaminating the polishing stages. Rinse plastic pellets well. We recommend reusing plastic pellets only with the stages they have previously run with to avoid contamination. Pellets float in water so they can be scooped out with a kitchen strainer.
You can add baking soda, Alka-Seltzer or a Tums to a load to prevent gas build-up.
For softer stones, you can start with the medium/fine stage of grit and omit the coarser grades. For softer stones you want to slow the tumbling action and prevent the stones from impacting each other during polishing. Some people have success adding corn syrup or sugar (twice as much as the amount of pre-polish or polish) to thicken the slurry. Another option is to polish the stones dry (omit water) using aluminum oxide and oatmeal.
Keep notes about your process so you remember things that work and things that don’t.
Have fun!

Comments
Leave a comment